


How to Optimize and Compress Images in WordPress
In this tutorial, we will show you how to Optimize and Compress images in WordPress. We will use the free Smush Image Compression and Optimization plugin. First, we will walk you through installing the plugin, then compressing and optimizing images in WordPress.
Install Smush Image Compression and Optimization
- Log into your WordPress Dashboard.
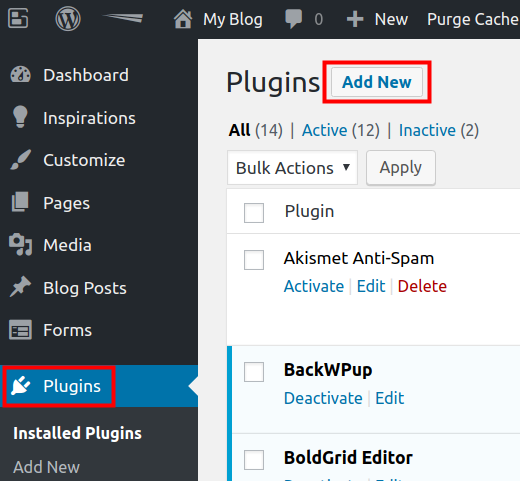
Click Plugins, then Add New.
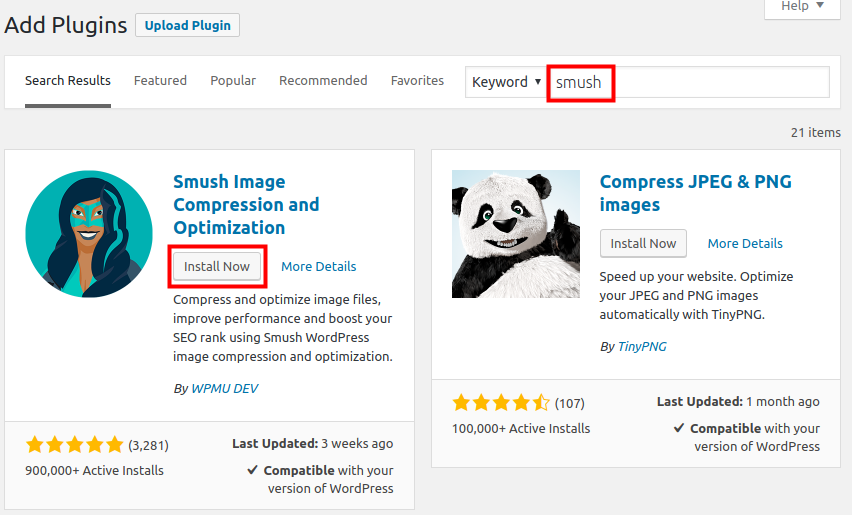
Type ‘smush’ in the search field. When you see the Smush Image Compression and Optimization plugin by WPMU DEV, click the Install Now button.
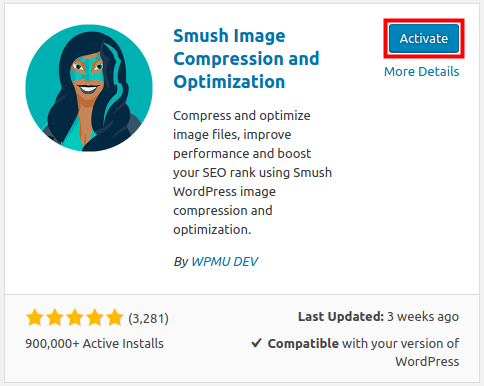
Once it has installed, click the Activate button to enable the plugin.
Optimize & Compress Images
Now that you have installed the Smush Image Compression and Optimization plugin, we will show you how to use it to opimize and compress images in your WordPress site. Since we are using the free version, it can only bulk process 50 at a time, so this may take several tries to complete.
- You should already be logged into your WordPress.
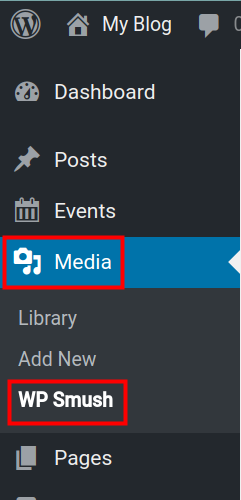
Click Media then WP Smush.
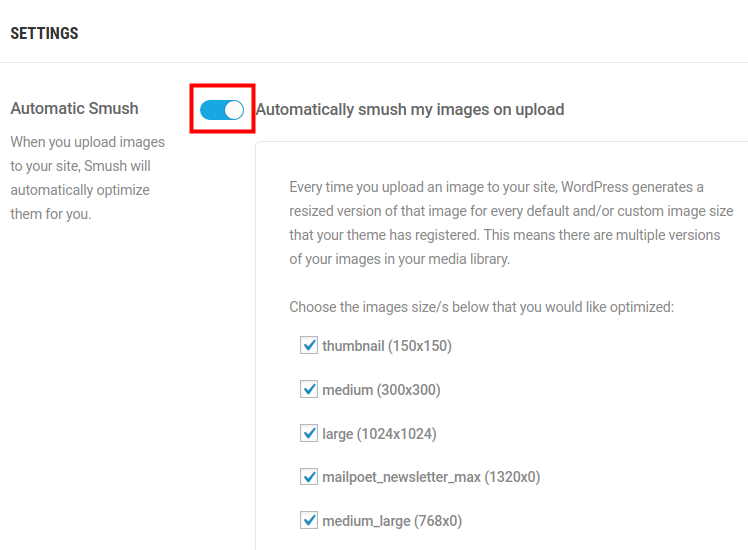
I recommend scrolling down to the Settings section and enabling Automatic Smush. This will cause any new images to be compressed and optimized when they are uploaded.
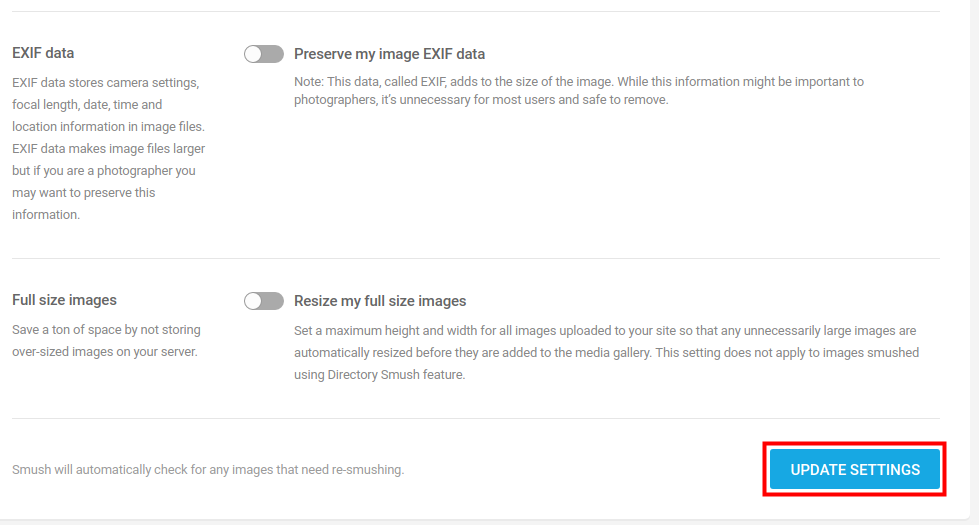
Then, click the Update Settings button.
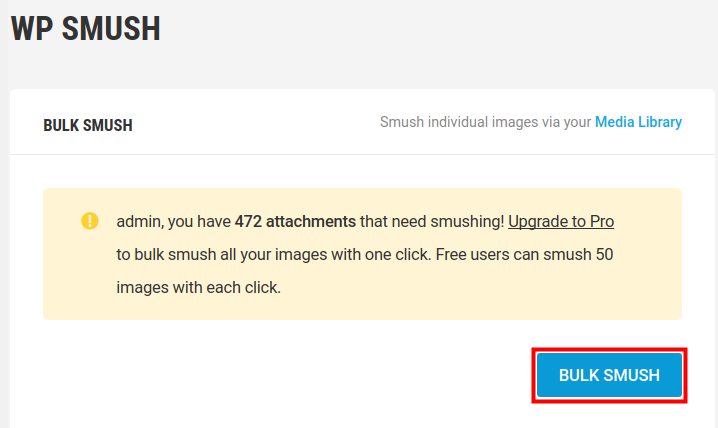
Click the Bulk Smush button to begin optimizing and compress existing images.

It will then begin processing your images.
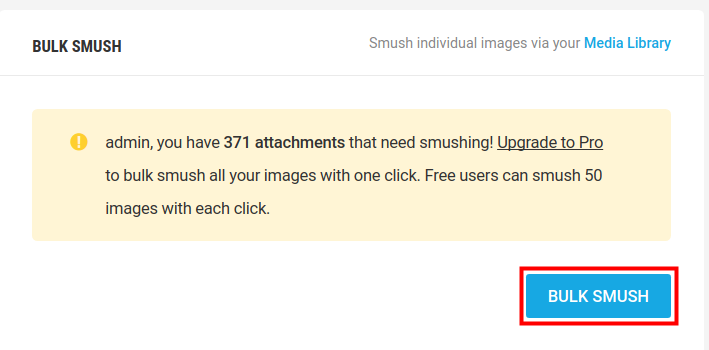
After processing 50 images it will stop, click the Bulk Smash button again. Repeat until it has processed all of your images.
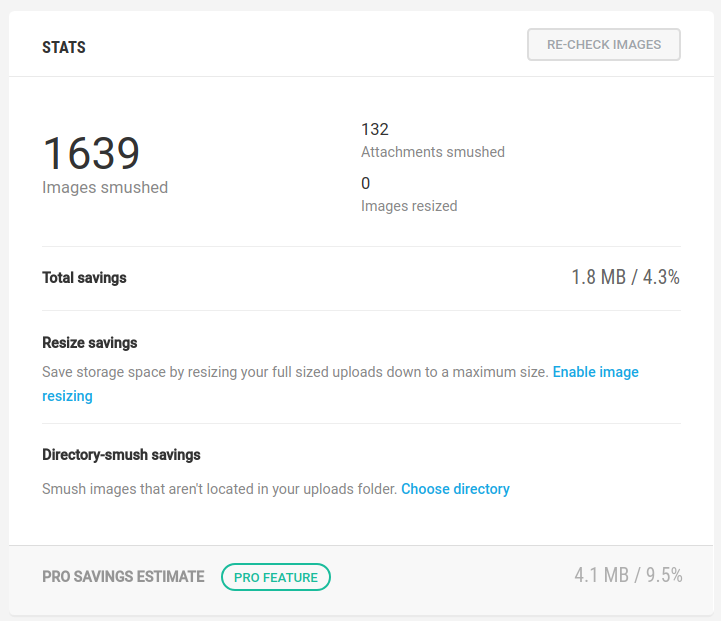
The Stats section will list how many images were optimized and compressed.
Congratulations, now you know how to Optimize and Compress images in WordPress with the Smush Image Compression and Optimization plugin!
